
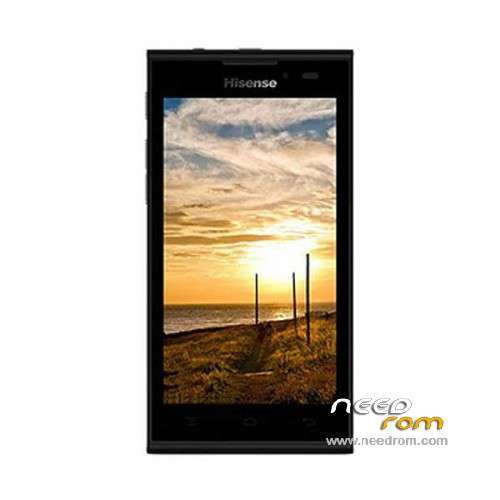
- Title: Hisense U939
- Listed: February, 2014
- Last modified: 02/13/2016 1:46 am
- Version: ROM Android 4.2.2
You must be logged for ROM download.
59209 total views, 3 today
34 Total favorites
 Member Info
DESCRIPTION
ROM Mobile Hisense U939 – ROM Android 4.2.2
ROM 2 – Official ROM Hisense U939 Version: HS-U939_W864.6.07.01.ZA00 – u939e_4-user 4.2.2 JDQ39
Gapps include – No Rooted
Language support : en_US,nl_NL,es_ES,zh_CN,it_IT,fr_FR,de_DE,pt_PT
Install ROM :
- Unpack FlashTools, and Click on Flash_tool.exe
- Select "scatter-Loading" and search MT6572_Android_scatter.txt in ROM
- Wait file to be added into Flash Tool
- Select "Download Only" or if upgrade "Firmware upgrade"
- Turn off your phone, remove the battery (if the battery is removable) and replace it after some seconds (and don't turn on the phone).
- Press “Download” button to start
- and connect your phone into the computer via USB data cable.
- The process will start and a red progress bar will appear after color purple, yellow.
- And green circles display
- Finish !
- You can now safely disconnect your phone and turn it on.
————————————————————————————————————————————————–
ROM 1 – Official ROM Hisense U939 Version: U939_20130723_W864.6.02.02.00-T
No Rooted
Language support : EN/CN
Install ROM :
1 Prepare a TF card ( capacity TF card must be less than or equal to 2G) , first card formatted in FAT format TF
2 unzip the downloaded rom brush , which will be copied to the folder U939 root directory of TF card package
3 confirmed that the battery is greater than 50 %, if the battery is low, please charged
4 TF card into the phone , the battery in the phone. The preparatory work is completed.
1 the phone is off, hold the "Volume + + + VOLUME DOWN button power button" three keys , phone mode upgrade to begin the upgrade .
2 Brush word "OK" after the success
3 simply remove the battery
4 then connect the phone battery , press the power button on the phone to boot. After starting in the phones menu "Settings" – Save and Reset – restore factory settings – Reset phone – all clear content .
5 the phone will automatically restart and recover the state of the factory, the screen saver .
6 success!
※Please make a backup of your device before installing or updating ROM
Thanks…
thanks file2 working for u939dual sim…. use flash tool format all + download
file works thanks
after flash desplay probilem ?????

how did u flash with flash tool?
when you plus usb cable.. did u press something or just plug it ?
Im Having the following error
"initializing scatter file failed please check the name of scatter file load is legal
Thank you it worked with SP Flash Tool v3.1332.0.187
lcd problem
not working
slt c un bon firmware je lé éssayé le 30/5/2017. je suis un musulman et je ne mens pas. alhamdoulilah