
- Title: An411-S128v35m
- Listed: October, 2014
- Last modified: 11/07/2014 4:11 pm
- Version: v.12 multilang
You must be logged for ROM download.
53640 total views, 6 today
16 Total favorites
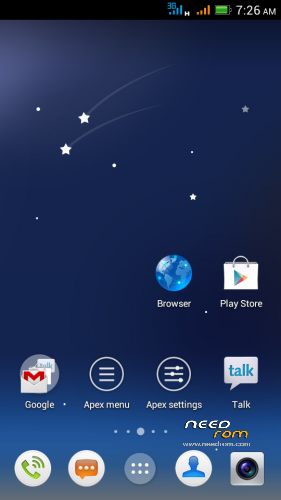
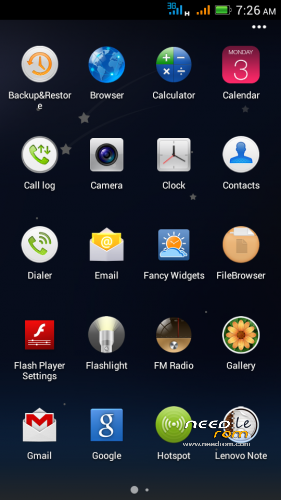
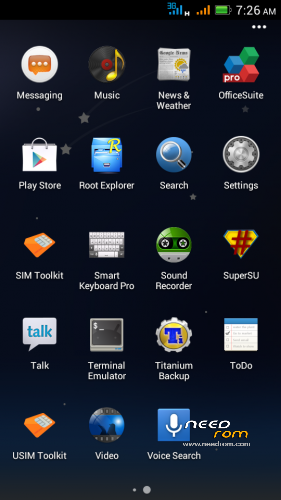
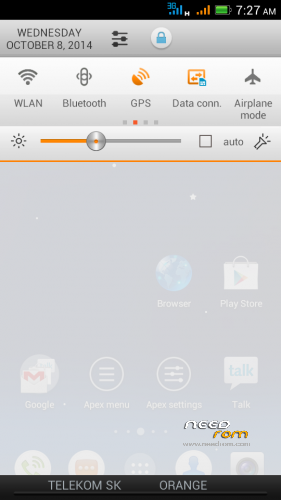
 Member Info
DESCRIPTION
Android 4.1.1. S128 v.3.5 mod - This is in many ways very different from the former ROM Android 4.1.1. S128 v.3.3!
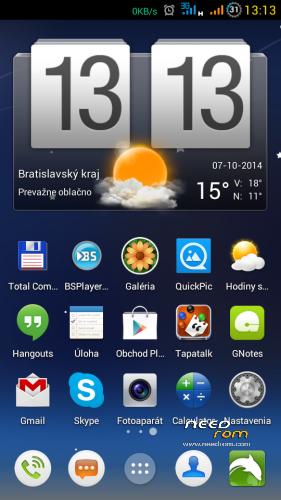
Surprisingly very good version of the asian branch of ROM. I modified original chinesse ROM, threw everything in Chinese and added translated texts (multilanguage), used texts from my previous ROMs, corrected some errors and shortcomings. There is not translated everything in all languages, because most of them do not speak. ROM is ROOTed, GAPPS are installed from a separate file.
For me this is the best ROM for Lenovo P770. I did not find any significant errors it the ROM.
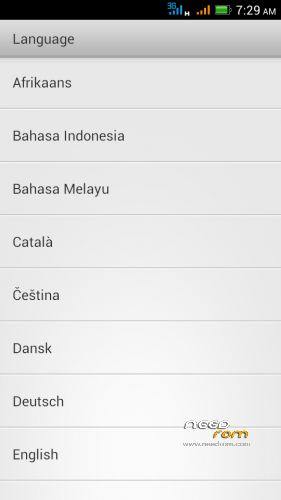
Languages support: Afrikaans, Arabic, Bahasa Indonesia, Bahasa Melayu, Bulgarian, Catalan, Croatian, Chinese (simplified, traditional), Czech, Danish (Dansk), Netherlands (Dutch), English,, French, German (Deutsch), Greek, IsiZulu, Italian, Japanese, Korean, Lithuanian, Latvian, Magyar, Norwegian, Polish, Portuguese, Romanian, Russian, Rumantsch, Serbian, Slovak, Slovene, Spanish, Swedish, Svenska, Turkish, Tagalog, Tieng Viet, Vietnamese, Ukrainian, Taiwan, … (some languages haven't translated all phrases)
Advantages / disadvantages:
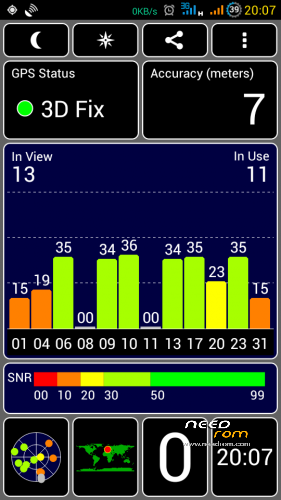
- really very quick GPS fix on Mtk6577 (AGPS uses)
- phone sees more satellites than the other ROMs
- ROM runs very smoothly
- many detailed system settings (eg. data monitor data in a not. bar, …)
- LED notification works well for Email, Gmail, Facebook, Talk, Hangouts, etc..
- multilanguage support (quality depends on the language)
- separate ringtone for each SIM card
- built-in automatic brightness control works very well
- long battery life
- localization according to GSM cell triangulation works (mobile internet on SIM)
>> If you have in phone ROM nr.11, the new version nr.12 must be installed as a clean installation (upgrade is not possible). All newest versions could be installed as upgrade (don't forget install ROM and GAPPS together). <<<
Installation instructions:
1. Format SD card and place ZIP ROM and GAPPS on SD card
2. If you haven't it, install TWRP recovery (download link bellow), go to TWRP
3. First Wipe – click Wipe/Advanced Wipe, select all options except SD card), then install ZIP ROM
-in TWRP click on Install button and choose ZIP file ROM
-then click on button "Add More Zips" and choose ZIP GAPPS
-drag button "Swipe to Confirm Flash" to install it togetheher
-click on button Wipe Cache/Dalvik
-click on button "Reboot System"
4. System will restart – patience required – first boot takes a while (3min.)
5. See Welcome screen, set your language
6. The question "Do you have a Google account?" Answer "Yes", enter your email and password
7. Skip credit card setup
8. Backup and Restore – click the right arrow
9. Use Google location – click the right arrow
10. Setup was finished – Click "Finish"
11. Confirm Settings SIM cards
12. Confirm Auto-push service – click on OK (message in notificaton bar)
13. Go to Settings/Storage/Default write disk, click here to "SD Storage" and then "OK"
14. Phone will restart
15. Done installation
16. Recommend you to install Dolphin browser from Google Play is really excellent - https://play.google.com/store/apps/details?id=mobi.mgeek.TunnyBrowser
If you want to check GSM network localization:
1. Click the icon Google Play Store
2. Find and install "Google Maps"
3. Launch Google Maps, when opens click on "Accept and Continue", then "Yes, I agree with the activation" (that is storing location data)
4. Close Google Maps application
5. Restart phone (swit off WiFi)
7. Run Google Maps, check GSM network locatization in Google maps (it should work)
TWRP/CWM is required for an installation.
TWRP 2500 here: http://yadi.sk/d/5e4SK60p5nrGU (install from CWM)
CWM 5504 here: http://yadi.sk/d/awAUa-Ve2gMMK (install from TWRP)
Information:
If your anti-virus program reports a virus (Andr.Exploit.Ratc) in ZIP archive, it is not true. This causes SuperSU.apk, it is false positive, as is described on XDA forum: http://forum.xda-developers.com/showthread.php?t=2711472
First time GPS activation:
- Connect to the internet
- Turn on the GPS
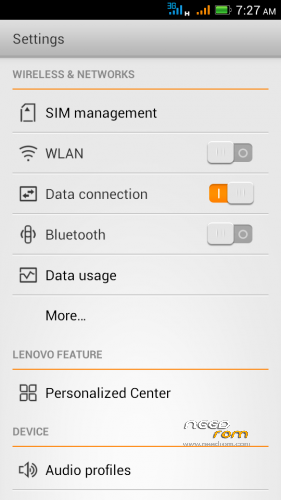
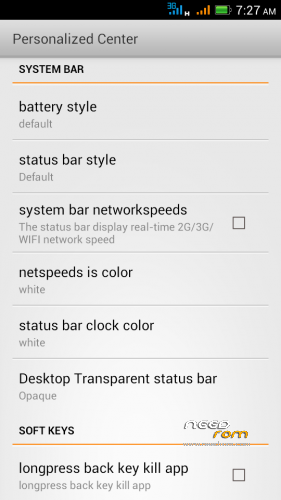
- Get in the Settings / Personalized Center / MTK engineer mode
- Location / Location Based Service
- Go to the GPS tab, switch to Full, press GPS (OFF) button
- Go to the VIEW tab and wait for green satelite confirmation
- Wait for the GPS Fix , for me in 30 seconds
- After this you can close this settings
Switch off Chinese texts in the Call and SMS log:
- click on Call icon
- on the screen click the icon in the lower right corner (Settings)
- click on Location option
- click on left button below the screen, select Setting
- uncheck "Display number's location"
– uncheck "Show operator information"
- click OK
※Please make a backup of your device before installing or updating ROM
Today I've managed to get network location working! I did a lot of stuff but I think the routine is following:
1) reinstall firmware, but flash main archive together with GAPPS, in TWRP there's a button "Add zip", in CWM should be something similar
2) after phone boots skip Google credentials and everything, just to see desktop
3) install Google Services update from here http://www.ex.ua/313998389865, then reboot your phone
4) open Play Market, it will prompt for a Google account, accomplish that
5) Google Services update notification will appear (if not install Google Maps and launch them), press Update button
6) reboot your phone and launch maps again, you should see your network based location (don't forget to connect WiFi or cell data)
That worked for me. On step 5 Google Services had version 6.1, maybe if they will release an update everything will break again
OK, thanks for helping. Will prepare new version soon…
The new version no.12 must be installed as a clean installation, because there is a new latest version of Contactmanager (from nr.1 line)
Installation – see to installation instructions above. First make full Titanium Backup, then in TWRP ful Wipe except SD card. Install ROM and GAPPS. Recover your apps, call, SMS log, WiFi password etc.
I found when network localization via GSM cell working:
- in the phone must be active mobile internet
- in the SIM2 slot must be inserted an active SIM card (may not be turned on internet)
- you have to perform an initial initialization position through GPS sensor (when GPS position will fix, you can turn off the GPS sensor)
Me it works this way, I have this configuration:
- SIM1 – card with an active 3G Internet
- SIM2 – card only for calls and SMS
There is no need to install any patch, as it is written in the post above (but do not rule out that it also works that way). I will try to improve the situation, I will be grateful for any advice and help.
Finding network GPS position works well with one SIM card with 3G internet, which is inserted in the slot SIM2. But this is not an ideal solution, because the SIM2 slot only supports EDGE data transfer.
One condition more – after installation, perform the update Google services via Google Play
Hi Rbarat. Ive seen amd tried your awesome roms. This rom, is it based from stock rom? Thank you. And LED notif works properly?
This ROM is based on LEnovo stock ROM S128 – it is an asian branch of stock ROMs. But it is a significantly revised version, which I took from one chinese man and modified for us – Europeans.
LED works very well also for emails, Hangouts, elc…
So, now I tried a clean ROM installation and result is that for me network GPS localization is working.
This procedure is applicable for ROM version No.13 (will upload tomorrow):
First clean the phone:
- save to SD card ZIP ROM + ZIP GAPPS
- jump to TWRP
- click on the Wipe, then Advanced wipe, check everything except "sdcard"
Now installation:
- we are still in TWRP
- click on Install, select ROM file
- now click on Add another Zip, choose GAPPS
- "Swipe to confirm the installation" – will install two files
- After installing, click on "Reboot system"
Procedures in the phone system:
- See Welcome screen, set your language
- The question "Do you have a Google account?" Answer "Yes", enter your email and password and click the right arrow, then click "OK"
- Skip credit card setup
- Backup and Restore – click the right arrow
- Use location Google – click the right arrow
- Setup was finished – Click "Finish"
- Confirm Settings: SIM cards – car SIM1 – 3G Internet, card SIM2 – calls and SMS
- Confirm Auto-push service – click on OK
- Go to Settings and turn ON SMART Keyboard (Switch OFF chinese Baidu)
- Turn on Wifi (we will download applications from the Internet who wants can use 3G internet)
- Click the icon Google Play Store
- Find and install "Google Maps"
- Click the Maps icon on your desktop, click on "Accept and Continue", then "Yes, I agree with the activation" (that is storing location data)
- Close Google Maps application
- Launch Google Play choose "My apps" and give "Update All", wait download for all updates
- Turn OFF WiFi
- Now restart your phone
- Done
After reboot start the Google maps application. Click the location button (in the right corner), the phone will immediately show your actual possition.

How it works for me, see picture
hi rbarat
you can try this dolby plus
http://www.4shared.com/zip/-EC.....Dolby_Plus.html
just install in TWRP
Dear rBarat:
What’s new in s128_tr_v3.5_rbarat_13..???
Changelog is above, in first post.
So I tested over that for localization using GSM network is not necessary to have occupied both SIM. Just SIM1 with mobile internet.